


72 Pairs Shoes Organizer Cabinet Shoe Container Storage Box Shoe Rack Box Stackable Sneaker Display Box, 12 Tier Shoe Box Plastic Stackable Shoe Storage Bins Space Saving Sneaker Storage Box

 4.6 (126 items)
 Limited Time Sale
$51.00 cheaper than the new price!!
Free cash-on-delivery fees for purchases over $99
Product details
| Management number | 221189619 | Release Date | 2026/05/03 | List Price | $34.00 | Model Number | 221189619 | ||
|---|---|---|---|---|---|---|---|---|---|
| Category | |||||||||
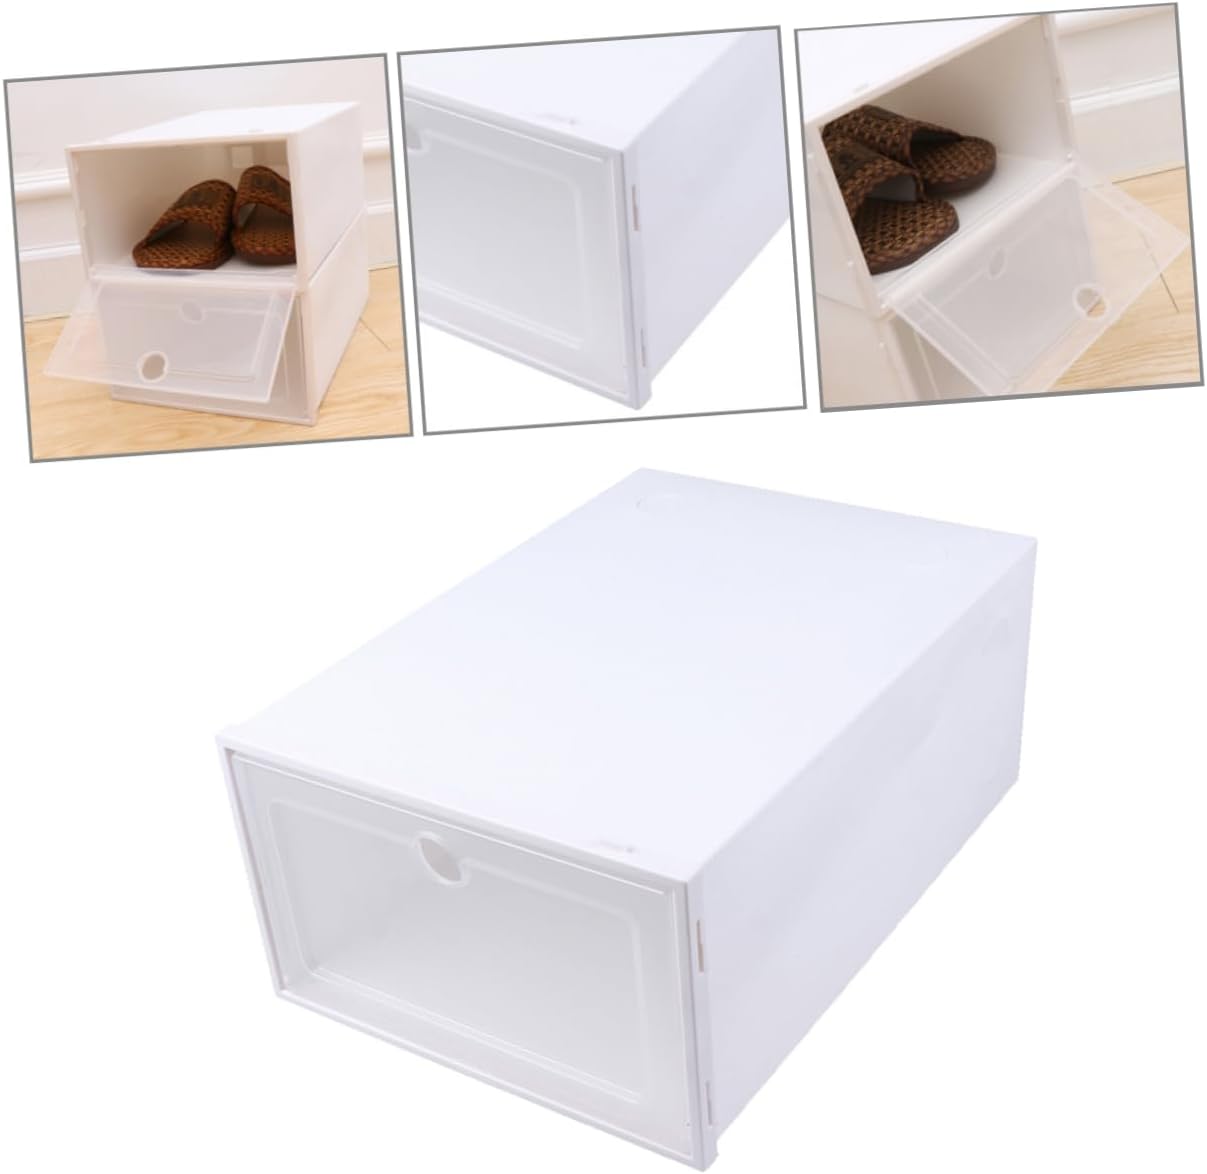
A new type of shoe box storage cabinet, each small unit can store 2 pairs of shoe boxes, large shoes can be taken off the middle of the baffle free combination.Specifications:Color: WhiteMaterial: PPSingle Carton Size: 43 * 32 * 43cmSingle Grid Load: 10kgShoe Box Type: 3 * 12Size: 126 * 32 * 187cmFeatures:✔ Strong toughness✔ Water-proof and mo-isture proof✔ Freely combinednPackage Included:1 x Shoes RacksNote:✦ Please allow 1-3cm differs due to manual measurement.✦ Due to the different display and different light, the picture may not reflect the actual color of the item. Thanks for your understanding.
- 【12 Tiers Shoe Rack】The transparent shoe rack provides a large space to store shoes, toys or handbags, etc. It can help you save more space.Size: 126 * 32 * 187cm, Single Carton Size: 43 * 32 * 43cm
- 【Store up to 72 Pairs】Very suitable for sports shoes, ballet shoes, flat shoes, casual shoes, children's shoes, etc.; each small unit can store 2 pairs of shoe boxes, which can hold up to 72 pairs of shoes, which is enough to meet the needs of you and your family . When you organize high heels, you can remove the middle baffle for free combination
- 【Sturdy Shoe Rack】The cube storage organizer is made of PP plastic material, which is strong and very strong. It can be used for a long time. It can be used as a shoe organizer in the living room, entrance, bedroom, and office
- 【Easy to Assemble】The shoe rack is easy to disassemble and assemble. The process of installing the shoe cabinet is usually not too long. The assembly process will be very simple. You will get a stylish and beautiful shoe organization cabinet in a short time
- 【Applicable to】This storage container can be used not only to organize storage of sports shoes, high heels, etc., but also to store clothes, accessories, bedding, toys, wallets or other larger accessories
| Size | 3x12 tiers, 72 pairs |
|---|---|
| Color | Transparent |
| Shape | Rectangular |
| Set Name | 12-Tier Shoe Rack Set |
| Room Type | Bedroom, Living Room, Office |
| Brand Name | Gdrasuya10 |
| Shelf Type | Tiered Shelf |
| Style Name | Modern |
| Unit Count | 1 Count |
| Item Weight | 10 Kilograms |
| Manufacturer | SUNQUO |
| Is Extendable | No |
| Material Type | Plastic, Polypropylene |
| Mounting Type | Floor Mount |
| Item Dimensions | 12.6 x 49.61 x 73.62 inches |
| Number of Items | 1 |
| Shelf Thickness | 126 Centimeters |
| Weight Capacity | Minimum weight: 22.1 Pounds |
| Furniture Finish | Plastic |
| Installation Type | Freestanding |
| Required Assembly | Yes |
| Additional Features | Stackable |
| Included Components | Hardware |
| Weight Capacity Maximum | 10 Kilograms |
| Item Dimensions D x W x H | 12.6"D x 49.61"W x 73.62"H |
| Product Care Instructions | Wipe with Dry Cloth |
| Minimum Required Door Width | 32 Centimeters |
| Recommended Uses For Product | Living room |
| Assembly Instructions Description | 1. Unpack the shoe rack from its carton. 2. Take out the individual components. 3. Align the side panels and insert the support brackets into the pre-drilled holes. 4. Place the shelves onto the brackets. 5. Ensure all connections are tight before use. |
Snow Boots


Boot & Shoe Boxes


Correction of product information
If you notice any omissions or errors in the product information on this page, please use the correction request form below.
Correction Request Form